Streamlit Dashboard
The Agentic Streamlit Dashboard provides a user-friendly web interface for interacting with your agents. Built with Streamlit, it provides a modern, simple UI for chatting with your agents.
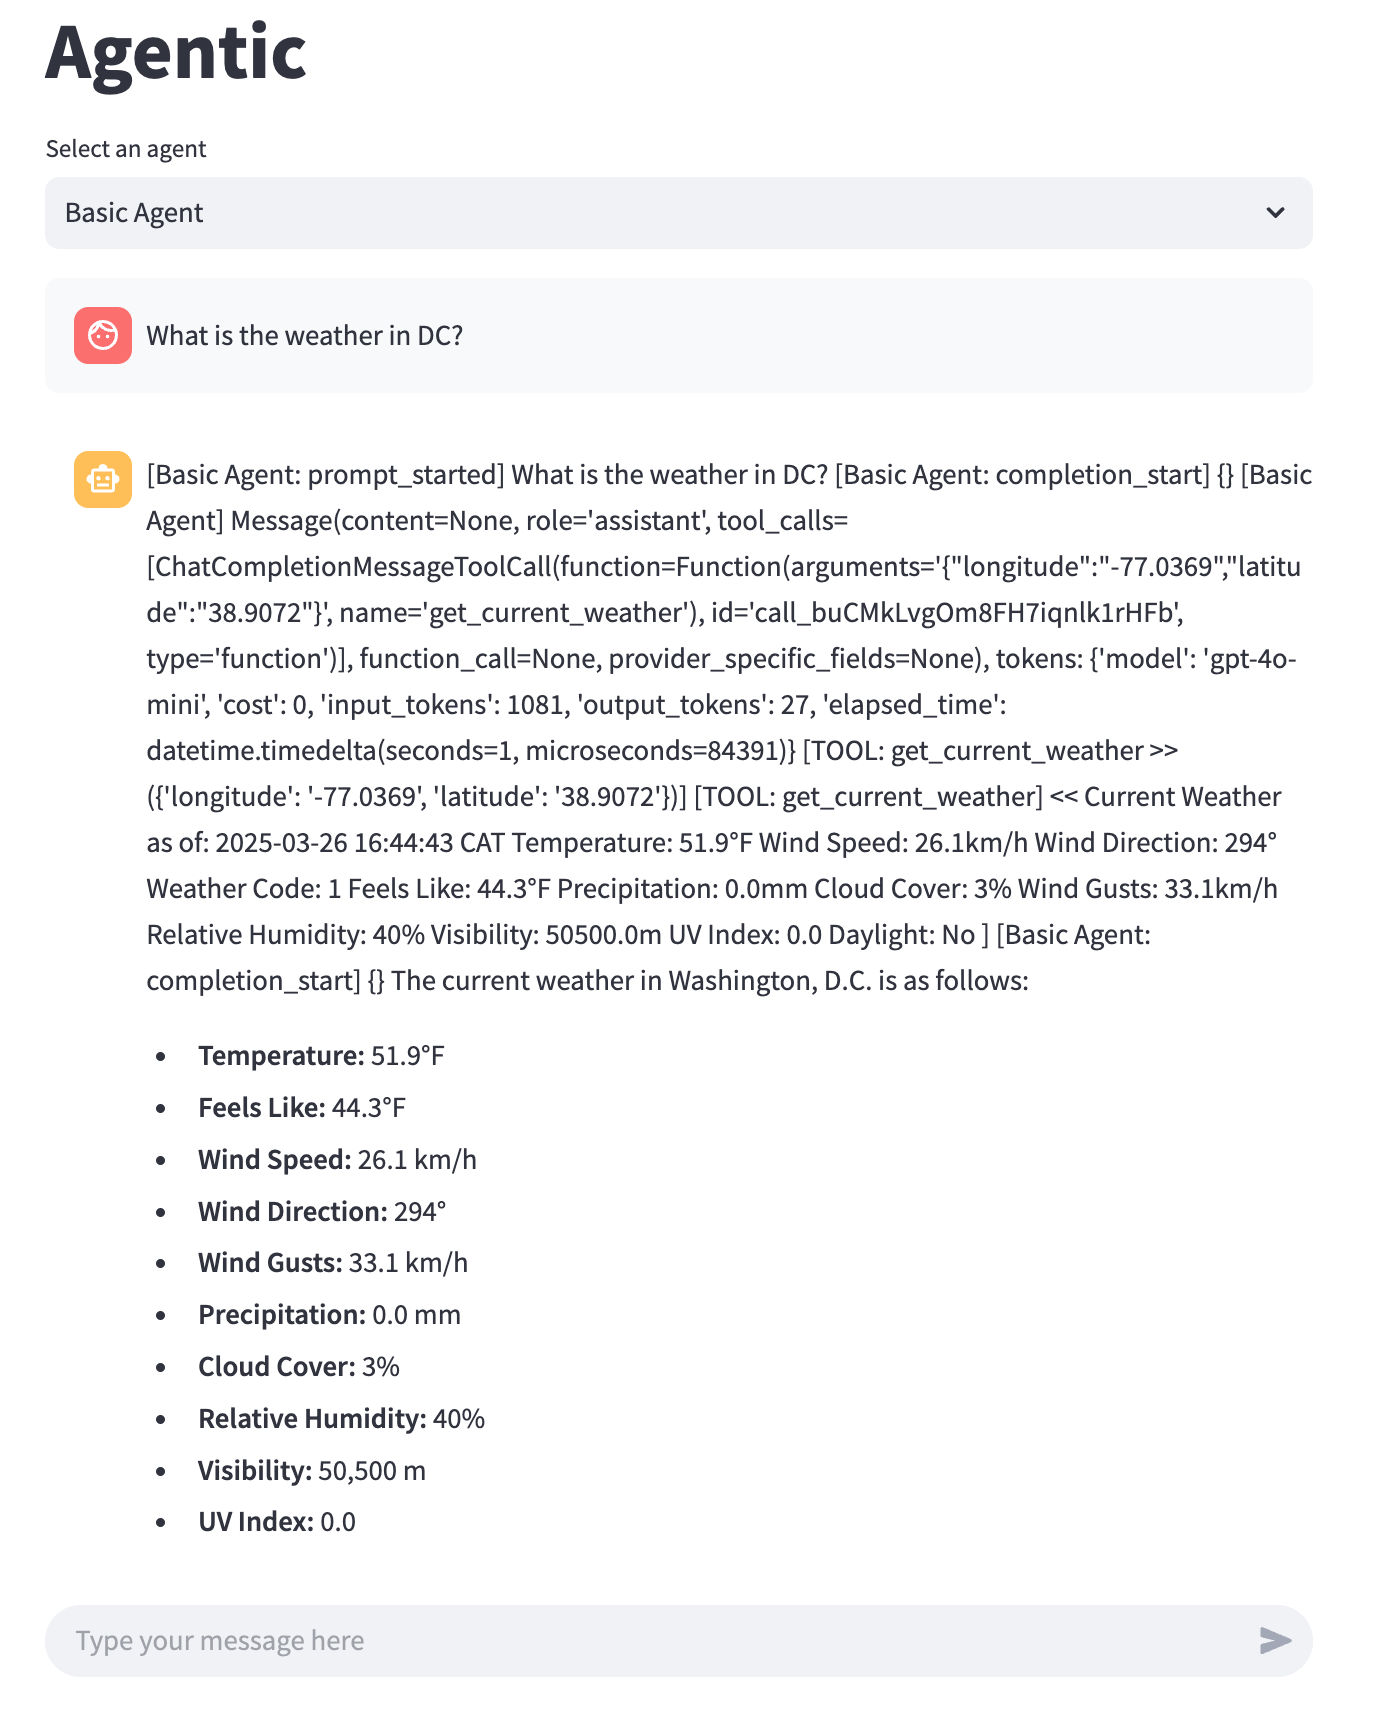
Features
The dashboard offers the following capabilities:
- Agent Chat Interface: Chat with any registered agent
- Real-time Event Logging: View agent events as they happen
- Tool Usage Visualization: See which tools your agents are using
- Token Usage Metrics: Monitor model token consumption
- Agent Discovery: Automatically displays all available agents
Setup and Installation
Prerequisites
The streamlit dashboard requires:
- Agentic framework with the streamlit extra
- An active agent server (started with
agentic serve)
To install with streamlit support:
pip install agentic-framework[streamlit]
Running the Dashboard
There are two ways to start the dashboard:
Using the CLI
The simplest way to launch the dashboard is through the CLI:
# Start the Streamlit UI
agentic streamlit

# If you want to start both the agent server and dashboard together
agentic serve examples/basic_agent.py & agentic streamlit
Usage Guide
Agent Selection
- Choose an agent from the dropdown
- The dashboard will display a chat interface with the selected agent
- You can switch between agents at any time
Chatting with Agents
- Enter your query in the input field at the bottom
- View agent responses and tool usage in the main chat area
- Agent responses support Markdown for rich formatting
Customizing the Dashboard
The dashboard can be customized in several ways:
Theming
Customize the dashboard appearance by creating a .streamlit/config.toml file with your theme preferences:
[theme]
primaryColor = "#FF4B4B"
backgroundColor = "#0E1117"
secondaryBackgroundColor = "#262730"
textColor = "#FAFAFA"
font = "sans serif"
Custom Agent Views
You can develop custom views for specific agent types by extending the Streamlit app:
- Create a new Python file that imports the base dashboard
- Override the
render_agent_viewfunction - Add your custom visualization or interaction elements
from agentic.streamlit.app import dashboard_app, render_agent_view

def custom_agent_view(agent_name, agent_data):
    # Your custom rendering logic here
    st.write(f"Custom view for {agent_name}")
    # Add visualizations, metrics, etc.

# Register your custom view
dashboard_app.add_agent_view("MyCustomAgent", custom_agent_view)
Integration with Next.js Dashboard
The Streamlit dashboard can be used alongside the Next.js dashboard, with each offering different advantages:
- Streamlit: Quick prototyping, data visualization, simpler setup
- Next.js: More polished UI, better performance with large histories, customizable layouts
To use both interfaces:
- Start the Agentic agent server (
agentic serve) - Start the Streamlit dashboard (
agentic streamlit) - Start the Next.js dashboard (
agentic dashboard start)
Troubleshooting
Common issues and solutions:
- Connection errors: Ensure the agent server is running and accessible
- Missing agents: Verify agent registration in the server logs
- Display issues: Check Streamlit version compatibility
- Performance problems: Reduce history retention for long-running agents
Technical Details
The Streamlit dashboard connects to agents through the Agentic API server, using:
- Server-sent events (SSE) for real-time updates
- Asynchronous HTTP requests for agent operations
- Local state management for UI state